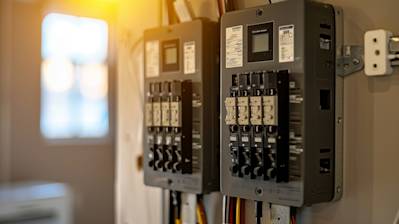
If you've been considering replacing or installing a new thermostat in your home, understanding the basics of thermostat wiring is absolutely essential. It is the foundation of any thermostat installation and understanding it can save you time, money and prevent unnecessary frustration. Whether you're a DIY enthusiast or someone who'd like to know more about how your home's heating and cooling system works, our guide can provide you with a comprehensive understanding of thermostat wiring.
Understanding the Basics of Thermostat Wiring
Thermostat wiring might seem complex at first glance, but once you familiarize yourself with the color codes and understand what each wire does, it's much less daunting. The wires connect your heating and cooling system to your thermostat and control how your HVAC system operates, affecting its efficiency and your home's temperature.
A Breakdown of Thermostat Wire Colors and Functions
Standard thermostat wiring includes a range of colors, with each color representing a different function. Typically, thermostats have around four to eight wire terminals, but the most common types include:
- Red: Typically split into Rc (for cooling) and Rh (for heating), this wire powers the thermostat.
- Green: It controls the fan of your HVAC system.
- White: Controls the heating system.
- Yellow: Associated with the air conditioner.
- Blue or Black: Usually considered the common wire, and provides power to the thermostat.
These are just the most common, and some more complex systems may have additional wires for various other functions.
Steps to Wire a Thermostat
While every installation might differ slightly, the following are general steps that apply in most scenarios:
1. Preparing for Installation
Before beginning, ensure that all power connected to your HVAC system is turned off. This step is crucial to avoid the risk of electric shock. Identify and label all wires according to their terminal while they're still connected to the old thermostat to prevent confusion later on.
2. Wire Connection
For the wiring connection to the new thermostat, refer to the labels you made on the old wires and connect them to the matching terminals on the new thermostat. Each terminal should match to a color, as outlined above. It's generally easier to start with the red wire and work your way through the colors.
3. Finalizing the Installation
Once all wires are securely connected to your new thermostat, fasten it to the wall and restore power to your HVAC system. It's recommended that you monitor your system for a day or so to ensure it's working correctly and efficiently.
Helpful Tips for Thermostat Wiring

Even with the correct knowledge, it can be easy to make mistakes. Here are some helpful tips to avoid issues:
- Never assume wire color functions as they can sometimes differ, particularly in older systems. Always double check.
- Turn off the power to your HVAC system before starting to avoid accidents.
- Always test your thermostat's functions after installation to make sure all wires were connected correctly.
Thermostat wiring isn't as daunting as it might initially appear. Once you know the basics, it's just a matter of matching colors and connections. Whether you're looking to wire a new thermostat, troubleshoot a current system, or simply quench your thirst for knowledge, understanding thermostat wiring is certainly a useful skill in maintaining an efficient home.
Frequently Asked Questions about Thermostat Wiring
In this expansive FAQ guide, we will be answering all your questions about thermostat wiring. From basic wiring steps, differentiating between 2 and 4 wire thermostats, and troubleshooting issues, we've got all your queries in one place.
What tools do I need to wire a thermostat?
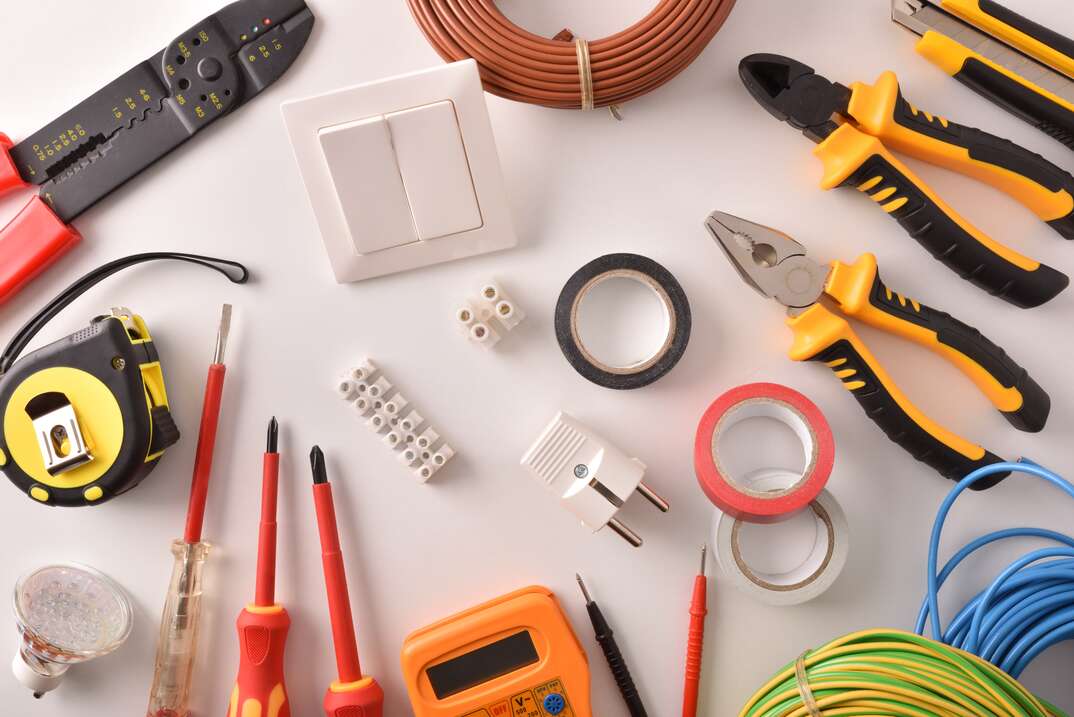
To wire a thermostat, you will need a small screwdriver, needle-nose pliers, wire stripper, and a voltage tester. This is to help you secure the wires to the terminal screws, shape the wires as needed, strip the end of the wires, and check the power of the wires respectively.
What is the purpose of a C wire in thermostat wiring?
The "C" in C wire stands for 'Common'. This wire provides a return path for continuous power to your thermostat. It ensures your programmable or "smart" thermostats keep running even when the heating or cooling isn't on. This is particularly crucial for thermostats that maintain Wi-Fi connections and lighted displays.
What is the basic process in thermostat wiring?
The basic process of thermostat wiring involves removing the old unit, labelling the existing wires, connecting the wires to the corresponding terminals on the new thermostat, and finally testing the new set up. Always remember to turn off the power at the breaker box to prevent any electrical shocks during the process.
How can I wire a thermostat without a C wire?
If you don't have a C wire, an add-a-wire adaptor kit can be used. It’s a simple solution that allows your thermostat to get power from existing wires and proceed with the thermostat wiring. However, hiring a professional to install it is recommended.
How can I differentiate between 2-wire and 4-wire thermostat wiring?
A 2-wire thermostat usually has wires connected to the R and W terminals. It's used for heating systems, like furnaces and boilers. A 4-wire thermostat, on the other hand, can control both heating and cooling and thus has connections to the R, W, G and Y terminals.
Can I interchange thermostat wires?
It is crucial not to interchange thermostat wires. Each wire has a specific function, and interchanging them can lead to malfunctioning or even damage to your thermostat or HVAC system. Always follow the wiring diagram in your thermostat’s user manual to ensure proper connection of the wires.
What can I do if I mislabeled my wires during my thermostat wiring?
If you mislabel your wires during the thermostat wiring process, don't panic. Refer back to the wiring diagram or user manual of your old thermostat or HVAC system. If you’re still unsure, it’s best to call a professional to avoid any accidental damages to your HVAC system.
Why isn't my thermostat turning on after wiring?
If your thermostat isn't turning on after wiring, check the power source first. Ensure the power is on and check if any circuit breakers are tripped. If still not working, there could be incorrect connections in the wiring process, or there might be an issue with the thermostat itself.
What steps should I follow in troubleshooting my thermostat wiring?
To troubleshoot your thermostat wiring, follow these steps: Ensure the power is turned on, the thermostat is set to the desired temperature, and check the settings on the thermostat. Inspect the wiring for loose or corroded wires. Finally, you might need to replace the batteries, or reset the thermostat according to its user manual.
When should I contact a professional for my thermostat wiring?
While many thermostat wiring steps can be DIY, several scenarios require professional intervention. If you are uncertain about the process, facing trouble during installation, having difficulty in understanding the wiring diagram, or your system is not working after installation, it's advisable to reach out to an HVAC professional.
Summary
Reach out to a professional if you're unsure about your thermostat wiring job. It requires understanding of both the heating and cooling system and the wires. It may seem cost-effective to do it yourself, but messing it up could result in replacing your whole HVAC system. A proper wiring job ensures your thermostat operates efficiently and accurately.
A proper understanding of thermostat wiring is key to a successful installation. Remember that different thermostats will require different wiring, and a letter on a wire does not always mean it goes to the same letter on the thermostat. Trust yourself but also use resources available to you so that you can navigate this exciting upgrade to your home's system with confidence.
Observing safety measures when dealing with thermostat wiring is crucial. Always turn off the power before starting the wiring process. Incorrect wiring can cause serious damage to your heating or cooling system. So, if you feel overwhelmed, reach out for professional support. A well-wired thermostat ensures your home always stays cozy and comfortable.
About Sagan Electric
Welcome to Sagan Electric, your trusted partner in all things electrical in Sacramento, CA. As an industry-leading company, we are committed to delivering top-tier electrical services to our residential, commercial, and industrial clients in the region. With years of experience under our belt, we specialize in everything from basic electrical repairs, elaborate installations, inspection, maintenance, to emergency services. So, if you are looking for high-quality, reliable, and affordable electrical solutions, look no further - Sagan Electric has got you covered!
Tags: thermostat wiring, HVAC, home improvement,
