
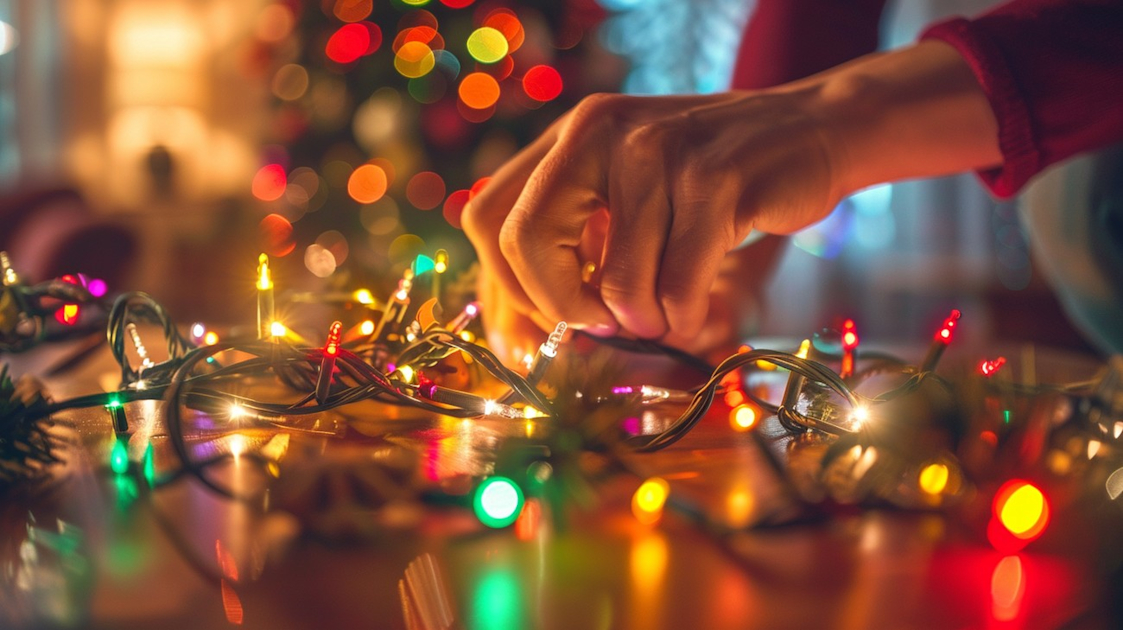


The holiday season is a time of joy, celebration, and of course, dazzling light displays. LED Christmas lights are increasingly popular due to their energy efficiency, durability, and vibrant colors. Whether you're a DIY enthusiast or a first-time decorator, understanding LED Christmas lights wiring can enhance your decorating experience. In this comprehensive guide, we’ll delve into everything you need to know, including how to wire LED lights safely and effectively for a glittering holiday display.
Understanding LED Christmas Lights
Before diving into wiring specifics, let's explore what makes LED Christmas lights the preferred choice for many. LEDs, or Light Emitting Diodes, are more energy-efficient than traditional incandescent bulbs and last several times longer. This not only saves you money but also reduces the frequency of needing to replace your lights.
Benefits of LED Lights
- Energy Efficiency: LEDs use up to 80% less energy than incandescent lights.
- Longevity: They offer an impressive lifespan, typically between 25,000 to 50,000 hours.
- Safety: LEDs generate less heat, reducing the risk of fire hazards.
- Vibrancy: They produce brighter and more consistent light.
Components of LED Christmas Lights
Before you start wiring, it’s critical to understand the main components of LED Christmas lights. These include:
- Bulbs: The LED bulbs, typically attached to the string.
- Wiring: The insulated wires that carry electrical current.
- Plug: The connector that fits into your power source.
- Resistors: Sometimes used to control the current flow to your LEDs.
Preparing for Wiring
Proper preparation is key to successful LED Christmas light wiring. Gather all necessary tools and materials to ensure a smooth process. Here’s what you’ll need:
- A string of LED Christmas lights
- Extension cords (outdoor-rated for outdoor displays)
- Electrical tape
- Wire cutters/strippers
- A voltage tester
- Connectors or adapters as required
Check the packaging or manufacturer guidelines to be aware of any specifics related to your particular lights. Verifying voltage compatibility will prevent potential electrical issues.
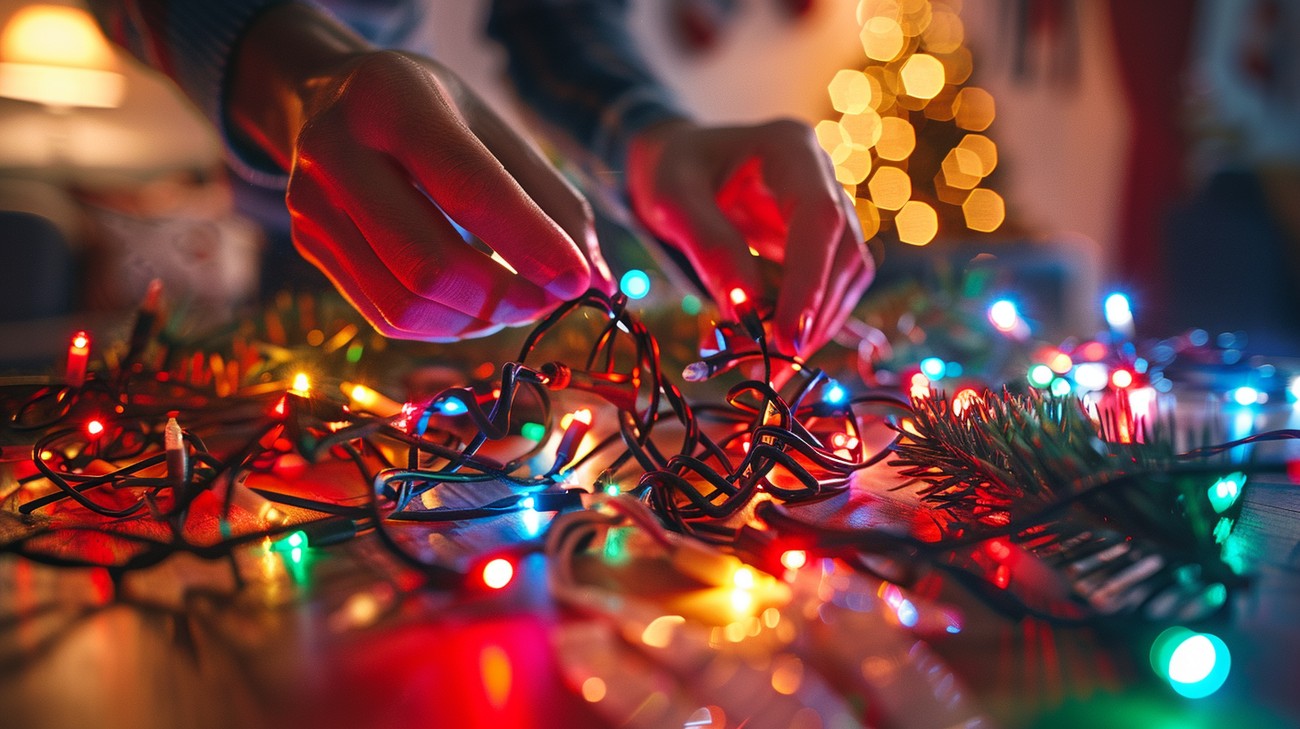
How to Wire LED Christmas Lights
Wiring LED Christmas lights might seem intimidating, but with a step-by-step approach, it becomes manageable and rewarding.
Step 1: Planning Your Display
Begin by planning your display. Determine which areas you want to light up and measure distances carefully. This ensures you have enough lights for your entire display and minimizes unnecessary wiring.
Step 2: Testing Your Lights
Before wiring your lights, it’s essential to test each strand. Plug them in to ensure all LEDs are functioning. Faulty lights should be repaired or replaced to avoid disrupting your display.
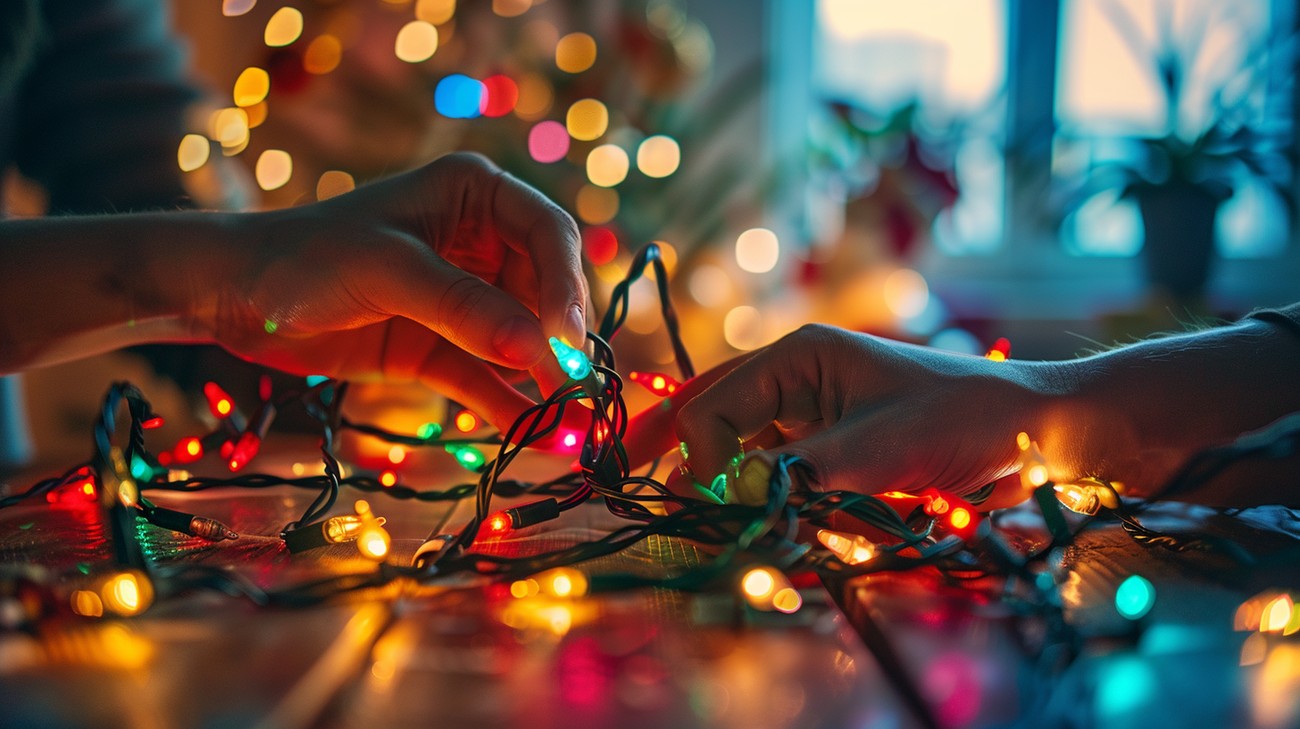
Step 3: Connecting the Lights
When connecting multiple strings of LED lights, ensure they are compatible for connection. Most LED strings are end-to-end connectable, but there are limits on how many can safely be connected. Follow these steps:
- Identify Connectable Ends: Each string should have a male and female end for connection.
- Connect Strings: Plug the male end of one string into the female end of another. Ensure connections are secure.
- Avoid Overloading: Do not exceed the manufacturer’s recommendation for the number of connected strings. This prevents overloading the circuit.
Step 4: Securing the Wiring
Secure the wiring using clips or hooks, especially outdoors. This minimizes movement from wind or twigs, ensuring your display remains intact and safe.
Step 5: Adding Additional Elements
For more complex displays, you may want to incorporate additional elements like timers, dimmers, or controllers. These can be integrated by following manufacturer instructions to control when your lights power on and off.
Safety Considerations
Wiring LED Christmas lights comes with several safety considerations. Maintaining safety should always be a top priority to prevent accidents or damage. Here are several key safety tips:
- Avoid Overloading Circuits: Use circuits that can handle the load of your display.
- Use GFCI Protection: Ground Fault Circuit Interrupter outlets protect against electric shock, particularly in wet conditions.
- Protect Connections: Use weatherproof coverings for connections, especially outdoors.
- Regular Inspections: Check your lights and wiring periodically for wear or damage.
Troubleshooting Common Issues
While LEDs are generally reliable, issues can still arise. Here’s how to address some common problems:
Lights Won’t Turn On
- Check Power Source: Ensure it is active.
- Inspect Fuses: Located in the plug; replace if blown.
- Examine Wiring: Look for frays or breaks.
Flickering Lights
- Check Connections: Ensure all plugs and sockets are secure.
- Test Voltage: Ensure your power source supplies adequate voltage.

FAQ About LED Christmas Lights Wiring
How do I properly wire LED Christmas lights?
Wiring LED Christmas lights properly requires attention to safety and functionality. Start by ensuring that your power source is compatible with the wattage and voltage of the LED lights. Check the manufacturer’s instructions for specific details. Use the appropriate gauge of extension cords and avoid overloading circuits. When connecting strings of lights, ensure the male and female connectors are securely fastened, and if you’re using outdoor lights, make sure they are weather-proofed. It is advisable to plan your layout before installation, taking into account any necessary connectors or adapters to complete your setup successfully.
Can I connect different brands of LED Christmas lights?
Yes, you can usually connect different brands of LED Christmas lights, but you should be cautious. Different brands may have varying electrical requirements, so check that they are compatible with regard to voltage and current. Ideally, purchase lights with the same specifications or consult both brands’ customer support to ensure they can be safely connected. When wiring LED Christmas lights from different manufacturers, closely inspect connection points for compatibility and stability to avoid overheating or electrical faults.
What are the common issues when wiring LED string lights, and how can I troubleshoot them?
Common issues when wiring LED string lights include faulty connections, blown fuses, and dead bulbs. To troubleshoot, first, inspect all connections to ensure that fittings are tight and secure. If a section of the string is not lighting up, identify and replace any damaged or dead bulbs, as this can cause the entire section to fail. LED Christmas lights often have built-in fuses located in the plug; check and replace these if necessary. For persistent problems, consider isolating and testing individual strings to pinpoint faulty wires or connections.
Is it safe to link several LED Christmas light sets together?
Linking several LED Christmas light sets can be safe if done correctly. Always check the manufacturer’s guidelines on how many strings can be connected together safely. Overloading your wiring can lead to overheating and potential fire hazards. When connecting multiple sets, aim to keep the total length within recommended limits—often around 200 or 300 bulbs for most household electrical systems. Use a single power source dedicated to the lights to prevent circuit overloading, and consider installing a timer to automatically turn the lights off after a certain period to reduce risks.
Can LED Christmas lights be cut to fit a specific space?
Cutting LED Christmas lights is generally not recommended, as this can disrupt the circuit and void any manufacturer’s warranty. Many LED string lights are designed in fixed lengths, and altering them may prevent them from functioning properly. If you need a specific length, look for customizable or “trim-to-fit” options specifically made for alterations. Otherwise, it’s better to wrap excess lights around the area or use clips to hold them in place, preserving the integrity of the string.
What precautions should I take when using extension cords with LED Christmas lights?
When using extension cords with LED Christmas lights, the first step is to ensure they are rated for outdoor use if the setup is outdoors. Choose cords that can handle the total wattage of your lights; using a heavy-duty, weather-resistant cord is preferable. Be cautious to avoid propping up cords in high-traffic areas to prevent tripping hazards and ensure that connections are secure and protected from moisture. Additionally, never run cords under rugs or doorways to avoid damage and potential fire risks.
How can I ensure my LED Christmas lights are environmentally friendly?
To ensure your LED Christmas lights are environmentally friendly, opt for lights that carry energy-efficient certifications, such as ENERGY STAR. These lights consume significantly less power compared to incandescent bulbs. Another important factor is the longevity of the lights; investing in high-quality LED lights that last for many seasons reduces waste. Consider solar-powered LED string lights, which eliminate the need for external electricity altogether, making them an excellent eco-friendly alternative. Lastly, recycling non-functional LED lights prevents them from ending up in landfills.
Step-by-Step Guide
Tools/Materials Needed
- LED Christmas light bulbs or strips
- Sockets (if using individual bulbs)
- Insulated copper wire
- Wire cutters and strippers
- Soldering iron and solder
- Electrical tape
- Heat shrink tubing
- Screwdriver
- Multimeter (optional, for checking continuity)
- Power supply (appropriate for the voltage of your LED lights)
- Extension cords (if needed)
Preparation Steps
Design Your Lighting Layout: Decide where you want to place your LED lights. Measure the area to determine how many lights and how much wiring you will need. Consider whether you'll need multiple strands and how they'll be powered.
Choose the Right LED Lights: Depending on your design, select suitable LED bulbs or strips. Make sure they are rated for outdoor use if you'll be using them outside.
Gather Tools and Materials: Check that you have all the necessary tools and materials. If you’re missing anything, take a trip to the hardware store before you begin.
Safety First: Make sure your working area is safe and free from potential hazards. Wear safety goggles when working with soldering tools.
Detailed Instructions
Cut and Prepare the Wire:
- Measure the length needed for your installation, adding a little extra for flexibility.
- Cut the insulated copper wire to the desired length using wire cutters.
- Strip about 1/2 inch of insulation off each end of the wire.
Create the Circuit:
- If using individual bulbs, insert each bulb into a socket, ensuring a secure fit.
- If using LED strips, determine where you'll make the connections.
Wire the LED Lights:
- Attach the positive wire to the positive terminal of the first LED bulb/socket/strip.
- Secure the wire connection using a soldering iron. Heat the solder just enough to create a good electrical connection.
- Cover the joint with heat shrink tubing to insulate it properly.
- Repeat for the negative wire.
Connect Multiple Lights:
- For additional lights, daisy-chain wires from one set of LEDs to the next, following the same process: positive to positive, negative to negative.
- Make sure not to overload one circuit, and note the total wattage to stay within safe electrical limits.
Test the Configuration:
- Before finalizing installation, plug the light strand into the power supply and ensure all bulbs illuminate correctly.
- Use a multimeter to check for continuity in the wiring if any bulb does not light up.
Secure the Wiring:
- Once tested, secure the wiring along its path using clips or adhesive as needed.
- Use electrical tape to wrap any exposed wire or connections that are prone to moisture exposure, especially for outdoor installations.
Final Installation:
- Tuck the wiring neatly and securely along the edges or frame where the lights are mounted.
- Plug the lights into a safe power source.
Tips for Success
- Test Before Installing: Always test your lights before committing to install them, especially if they are complex or large strands.
- Keep it Simple: If possible, use pre-assembled strings to cut down on soldering and connecting tasks.
- Stay Organized: Label wires as you work to avoid confusion with positive and negative terminals.
- Plan for Power: Ensure you have sufficient and accessible power outlets before starting your project.
What to Do If Something Goes Wrong
- Non-working LED: Use a multimeter to trace the wiring and check for breaks or faulty connections. Replace or repair as necessary.
- Overloaded Circuit: If the lights flicker or don’t work correctly, you might have connected too many lights on one circuit. Reduce the number and use an additional power source.
- Short Circuit: Immediately unplug everything and inspect for crossed wires or uninsulated connections. Fix the problem areas and retest.
- Prevent Future Issues: Regularly check and maintain your lights, especially after bad weather if they are installed outdoors.
Common Mistakes to Avoid
Overloading Circuits
Why it Happens: It's easy to get carried away with the festive spirit and connect too many strings of lights to a single outlet. Each string of lights adds to the overall power draw.
How to Avoid It: Check the maximum wattage that your circuit can handle, usually found on the circuit breaker. Calculate the total wattage of your lights to ensure it doesn't exceed this limit. A good rule of thumb is to keep each circuit load to about 80% of its capacity.
What to Do if You've Already Made the Mistake: If you've noticed your breaker tripping, unplug some of the lights to reduce the load. Consider redistributing the load across multiple circuits.
Expert Recommendation: Use LED lights, which consume less power, and consider investing in smart plugs with load monitoring to keep things in check.
Using the Wrong Extension Cords
Why it Happens: Not all extension cords are created equal, and using an indoor cord for outdoor lights or one that can't handle the required current is a common mistake.
How to Avoid It: Always use extension cords rated for outdoor use or those that match or exceed the amperage of the connected lights.
What to Do if You've Already Made the Mistake: Replace the incorrect extension cords immediately with outdoor-rated, heavy-duty ones to prevent any safety hazards.
Expert Recommendation: Check for UL-listed cords, as they meet safety standards.
Improper Installation
Why it Happens: Whether it’s the rush to get the house decorated or a lack of proper tools, sometimes lights are installed using makeshift methods that compromise safety and stability.
How to Avoid It: Use proper hooks and clips made for Christmas lights instead of staples or nails that can damage the wiring.
What to Do if You've Already Made the Mistake: Carefully remove any incorrectly installed lights and inspect for damage. Replace damaged sections and re-install using correct hardware.
Expert Recommendation: Purchase a light hanging kit, which includes all necessary hardware for a safe setup.
Ignoring Weather Conditions
Why it Happens: Eagerness to see your house lit up can lead to overlooking local weather conditions that might not yet be conducive for light installation.
How to Avoid It: Check the weather forecast before installation. Avoid setting up lights during rain or snow to prevent slips and electric shocks.
What to Do if You've Already Made the Mistake: If lights were installed in poor conditions and you notice issues, inspect for moisture or water damage. Consider taking down the lights and reinstalling them after ensuring they are dry and the weather is clear.
Expert Recommendation: Install lights on dry and calm days, and use weather-resistant lights and fittings.
Forgetting to Test the Lights First
Why it Happens: In the excitement, many jump straight to installation without checking if the lights work.
How to Avoid It: Always plug in and test each string of lights before installation to ensure they're in working order.
What to Do if You've Already Made the Mistake: Troubleshoot by checking for faulty bulbs. Many LED sets include extra bulbs for replacement, so replace any that aren't functioning.
Expert Recommendation: Before storage, organize and label lights, indicating any strings that need repair to minimize future headaches.
Not Considering Total Length
Why it Happens: Misjudging the total amount of lights needed can lead to stretches of your home being left in the shadows.
How to Avoid It: Measure the areas where you plan to hang lights and calculate the required length beforehand, allowing for some extra.
What to Do if You've Already Made the Mistake: If you fall short, you might need to rethink your layout or purchase additional lights to fill the gaps.
Expert Recommendation: Consider using light strings with connectors that allow you to easily add more length if needed.
Incorrect Storage
Why it Happens: After the holiday rush, lights are often hastily packed away without considering next year.
How to Avoid It: Wind lights around a spool or similar object to prevent tangling. Store them in a cool, dry place.
What to Do if You've Already Made the Mistake: If your lights are tangled, gently unravel them and inspect for damage.
Expert Recommendation: Invest in a reel-and-storage system designed for Christmas lights to keep them organized year-round.
Final Thoughts
When it comes to decorating your home with beautiful LED Christmas lights, getting the wiring right is essential to ensure safety and a stunning display. Remember to choose the right gauge wire for your strand length, use proper connections, and consider weatherproofing for outdoor setups. With LED Christmas lights wiring handled correctly, you can enjoy a dazzling holiday ambiance without worrying about electrical issues.
If you’re in the Sacramento, CA area and want expert assistance with your holiday lighting, we’re here to help. At Sagan Electric, we pride ourselves on providing trusted service tailored to your needs. Whether you’d like to schedule a consultation or request a free estimate, we’re just a call away and excited to help you light up your holiday season!
Tags: led, christmas lights, wiring,


